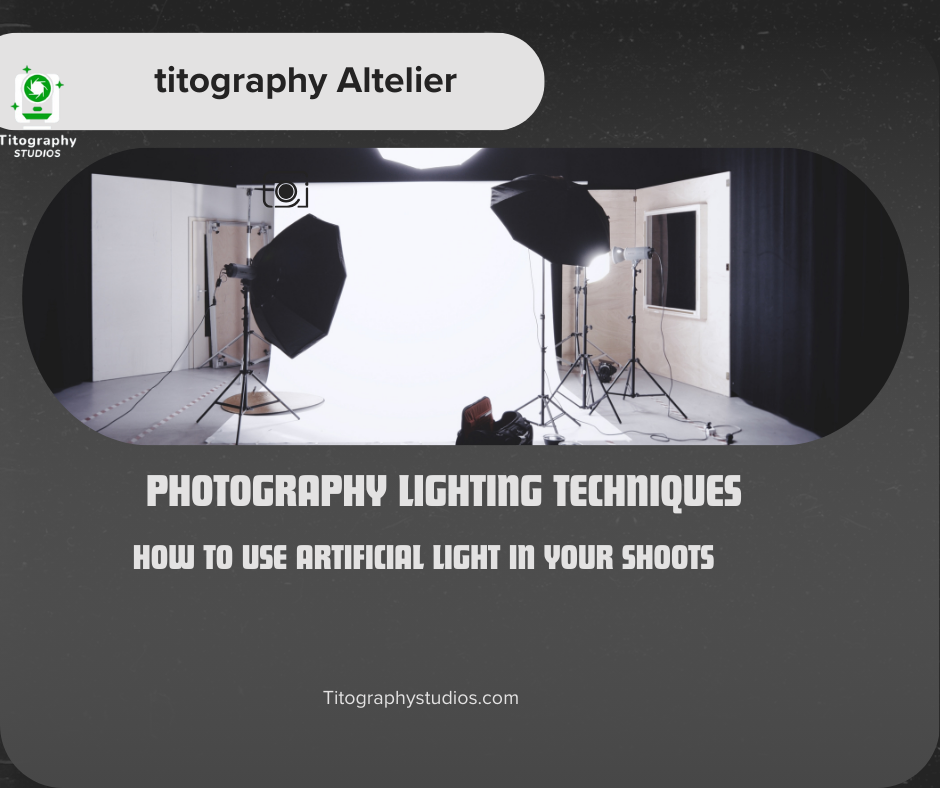
Lighting is one of the most crucial elements of photography, often determining whether an image is average or extraordinary. While natural light has its charm, artificial lighting provides control, versatility, and creative freedom, especially when natural conditions are unfavorable. If you’re striving to elevate your photography game, mastering artificial light is a skill you can’t ignore.
Related Article: The Basics of Macro Photography: How to Capture Incredible Close-Ups
This comprehensive guide will explore various artificial lighting techniques, breaking them into actionable tips. Whether you’re a beginner or an experienced photographer, you’ll find these insights practical, problem-solving, and easy to implement.
Why Artificial Lighting

Before diving into techniques, let’s address why artificial lighting is indispensable in photography:
- Control and Consistency
Unlike natural light, you can manipulate artificial light to suit your needs. It offers consistency across shots and sessions. - Versatility
You can shoot at any time of day or night with artificial lighting. You can shoot in any weather condition without compromising on quality. - Creative Freedom
From dramatic shadows to soft highlights, artificial light lets you experiment with endless creative effects.
Understanding the “why” is crucial because it sets the stage for learning “how” to use artificial lighting effectively. Let’s explore the techniques now.
Types of Artificial Light Sources

To start with, you must familiarize yourself with the different types of artificial light sources commonly used in photography. Each type serves a specific purpose and creates a unique effect.
Continuous Light
Continuous lights stay on during the shoot. This allows you to see how the light interacts with your subject in real time. Common examples include LED panels, fluorescent bulbs, and tungsten lights.
- When to Use: For video shoots, portraits, and still-life photography where real-time adjustments are essential.
- Pros: Easy to use, beginner-friendly, and budget-friendly.
- Cons: May lack the intensity of flashlights and can cause overheating.
Flash or Strobe Lights

Flashlights, such as speedlights or studio strobes, emit brief but powerful bursts of light. These are widely used for dynamic photography.
- When to Use: Action shots, professional portraits, and outdoor photography.
- Pros: High-intensity light, excellent for freezing motion, and versatile.
- Cons: Requires practice to master, can be intimidating for beginners.
Specialty Lights
Some advanced setups incorporate ring lights, fiber optics, or neon lights for specific effects.
- When to Use: Beauty shots, product photography, and creative experiments.
- Pros: Unique, creates visually appealing results.
- Cons: Limited in versatility.
Understanding Lighting Modifiers
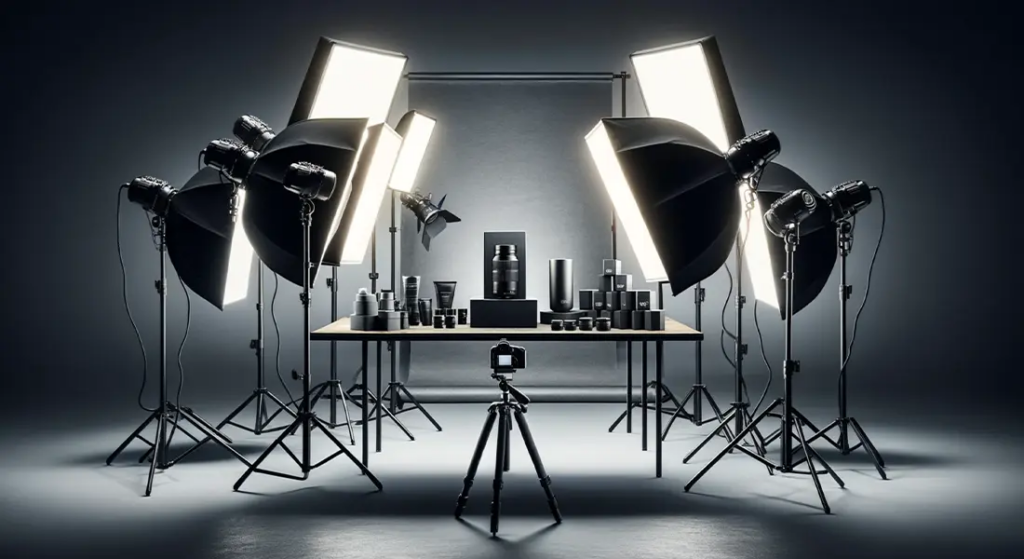
Modifiers are tools that help shape and control light. Using the right modifier can drastically transform the mood and quality of your photos. Here are the most common types:
Softboxes
Softboxes diffuse light, creating soft and even illumination. They are ideal for portraits and product photography.
- Pro Tip: Use larger softboxes for softer light and smaller ones for more focused light.
Umbrellas
Umbrellas bounce light off their reflective surfaces, either spreading it (shoot-through) or concentrating it (reflective).
- Pro Tip: Position umbrellas closer to the subject for softer light and farther for harsher shadows.
Reflectors

Reflectors bounce light onto your subject, often used to fill in shadows.
- Pro Tip: Experiment with gold, silver, and white reflectors. Observe how they affect the warmth and tone of your photos.
Snoots and Grids
For precise lighting control, snoots and grids focus light into narrow beams.
- Pro Tip: Use these for dramatic effects or to highlight specific areas.
Mastering Light Placement
Where you place your light source can make or break your shot. Let’s explore some fundamental placements:
Front Lighting
The light source is positioned directly in front of the subject. This creates evenly lit photos but can lack depth.
- Best For: Passport photos, flat-lay photography, or subjects where details are critical.
Side Lighting
Placing the light at a 90-degree angle creates strong shadows and highlights, adding depth and texture.
- Best For: Portraits, food photography, and dramatic compositions.
Backlighting

Light positioned behind the subject creates silhouettes or halo effects.
- Best For: Artistic shots, landscapes, or ethereal portraits.
Rembrandt Lighting
This technique involves positioning the light at a 45-degree angle, creating a triangular highlight on one side of the face.
- Best For: Classic portraits with dramatic undertones.
Balancing Artificial and Ambient Light
One of the trickiest aspects of artificial lighting is balancing it with ambient light. To achieve harmony:
- Use Manual Mode: This gives you full control over shutter speed, aperture, and ISO.
- Adjust White Balance: Set it to match the color temperature of your artificial light.
- Experiment with Light Ratios: Use a light meter. It will help you determine how much artificial light you need. Decide if you want to complement or overpower the ambient light.
Common Challenges and Solutions
Overexposure or Harsh Light
- Solution: Use diffusers or reduce the power of your light source.
Unnatural Shadows
- Solution: Adjust the light’s angle or introduce a second light source to fill in shadows.
Glares and Reflections
- Solution: Use a polarizing filter or reposition the light to avoid reflective surfaces.
Creative Techniques with Artificial Light
Photography isn’t just about solving problems; it’s about creating art. Here are some creative ways to use artificial lighting:
Low-Key Photography
This technique uses minimal light to create a dark, moody atmosphere.
- How To Achieve: Use a single light source with a snoot or grid and position it at an angle.
High-Key Photography
High-key images are bright and evenly lit, often used for commercial photography.
- How To Achieve: Use multiple light sources and softboxes to remove shadows.
Light Painting
Use a flashlight or LED to “paint” light onto your subject during a long exposure.
- How To Achieve: Set your camera to a slow shutter speed, and move the light source creatively.
Post-Processing Tips for Artificial Lighting
Even with perfect lighting, post-processing can enhance your results.
- Correct Exposure: Use software like Adobe Lightroom to adjust brightness and contrast.
- Color Grading: Balance the color temperature to maintain consistency.
- Retouching: Smooth out skin tones and remove harsh shadows if necessary.
Artificial lighting opens up a world of possibilities in photography. With the right tools, techniques, and a dash of creativity, you can transform your images into works of art. While the learning curve might seem steep, practice and experimentation will lead to mastery.


