Natural light photography is a captivating way to capture the world around us, utilizing the sun’s rays to create stunning images. Unlike artificial lighting, natural light offers a unique and dynamic quality that can transform ordinary scenes into extraordinary ones. Whether you are a beginner or an experienced photographer, mastering natural light can help your photography skills and enhance your portfolio. This comprehensive guide will explore the top ten tips for natural light photography that will help you make the most of this beautiful and often challenging medium.
Grasp the Essence of Light

The first step in mastering natural light photography is to understand its quality. Natural light can vary greatly throughout the day, influenced by time, weather, and location.
- Soft vs. Hard Light: Soft light occurs during overcast days or the golden hours (the first hour after sunrise and the last hour before sunset). This type of light creates gentle shadows and a flattering glow on subjects. In contrast, hard light, which is prevalent during midday when the sun is high, casts sharp shadows and can create unflattering highlights.
- Color Temperature: The color temperature of natural light changes throughout the day. Early morning and late afternoon light tends to be warmer (more orange), while midday light is cooler (more blue). Understanding these changes allows you to choose the best times for your shoots based on the mood you want to convey.
Pro Tip: Carry a grey card or use your camera’s white balance settings to ensure accurate color reproduction in your images.
Choose the Right Time of Day

Timing is crucial in natural light photography. The best times to shoot are during the golden hours mentioned earlier, as they provide soft, warm lighting that enhances colors and textures.
- Golden Hour: This period creates a magical quality in photographs. The sun’s low angle produces long shadows and a beautiful glow that can add depth and interest to your images.
- Blue Hour: The sky takes on a deep blue hue just before sunrise and after sunset. This time can be perfect for capturing landscapes or cityscapes with a serene atmosphere.
Pro Tip: Plan your shoots around these times using apps like Sun Surveyor or Golden Hour to track sunrise and sunset times in your location.
Use Reflectors to Manipulate Light

Reflectors are invaluable tools in natural light photography. They help bounce light onto your subject, filling in shadows and creating a more balanced exposure.
Reflectors bounce light onto your subject, filling in shadows and adding a pleasing glow. Diffusers, on the other hand, soften harsh light, creating a more even and flattering illumination.
- Types of Reflectors: You can use white, silver, or gold reflectors depending on the effect you want to achieve. White reflectors produce soft light, silver reflectors create a stronger bounce with more contrast, while gold reflectors add warmth.
- DIY Options: If you don’t have a professional reflector, you can create one using materials like white foam boards or even a car windshield sunshade.
Pro Tip: Position your reflector at an angle that captures sunlight and directs it onto your subject’s face for a more flattering look.
Avoid Direct Sunlight

While natural light is beautiful, direct sunlight can be harsh and unflattering, especially when it creates strong shadows on your subject’s face.
- Shade Solutions: When shooting outdoors during midday, seek shaded areas under trees or buildings to diffuse the harsh sunlight. This will result in softer shadows and more even lighting.
- Cloudy Days: Don’t shy away from overcast days; they provide excellent conditions for shooting as clouds act as a natural diffuser, softening sunlight significantly.
Pro Tip: If you must shoot in direct sunlight, consider using a diffuser between your subject and the sun to soften the harsh rays.
5. Experiment with Angles and Perspectives
The direction of light plays a significant role in how your subject is illuminated. Experimenting with different angles can yield unique results.
- Front Lighting: Positioning your subject directly facing the light source can reduce shadows but may create flat images unless you angle them slightly.
- Side Lighting: Shooting with the light coming from one side adds depth and dimension to your images by creating shadows that enhance texture.
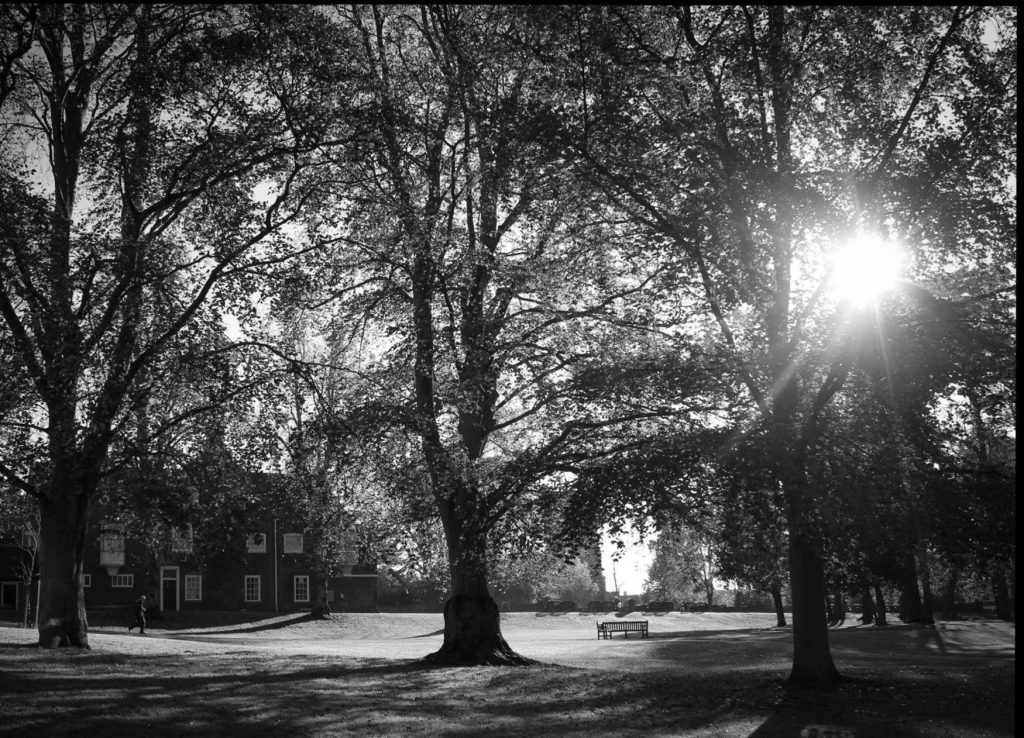
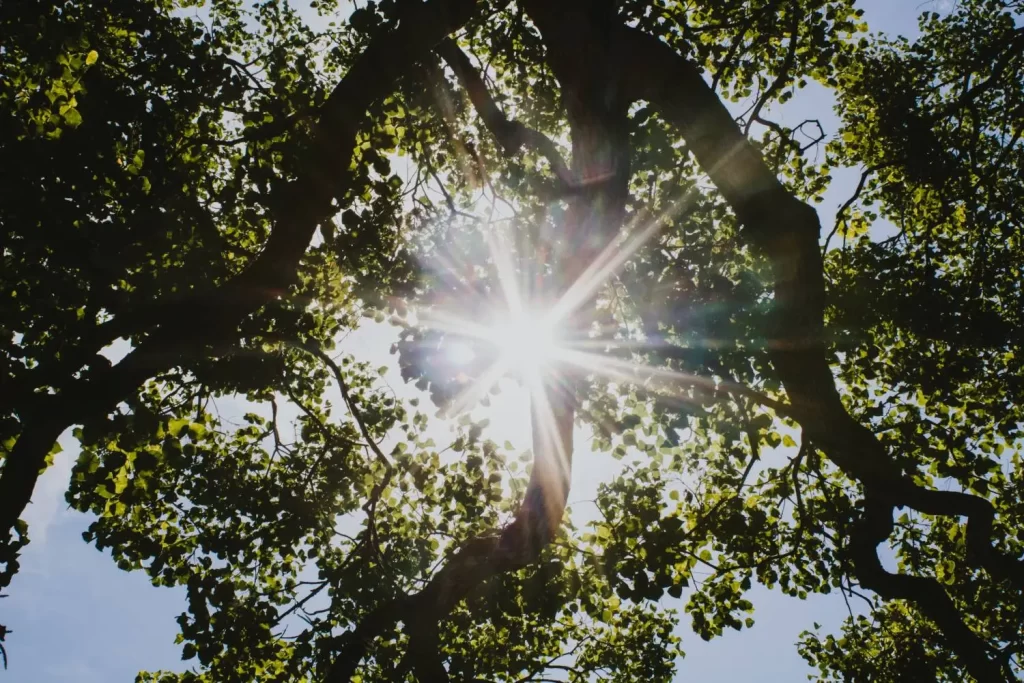
- Backlighting: Placing your subject between the camera and the sun can create dramatic silhouettes or halo effects when done correctly.
Pro Tip: Move around your subject to find different lighting angles; sometimes a small change in position can dramatically alter the outcome of your shot.
Utilize Shadows Creatively

Shadows can be an essential element in natural light photography, adding depth and interest to your images.
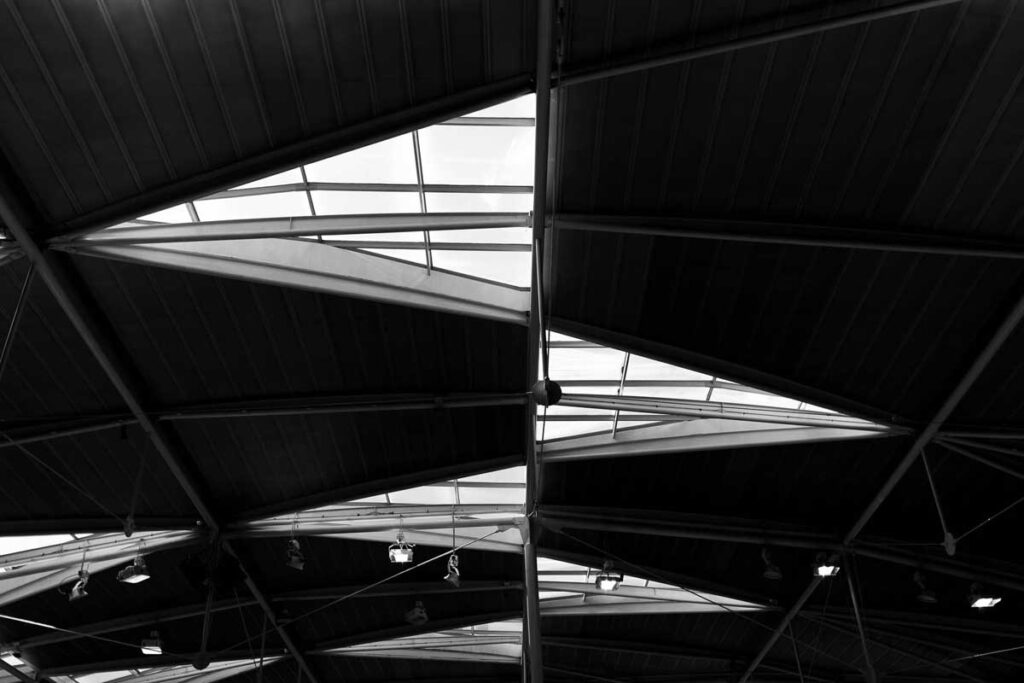
- Play with Patterns: Look for opportunities where shadows create interesting shapes or patterns on surfaces around your subject. This can add an artistic touch to your photos.
- Silhouettes: Use strong backlighting to create silhouettes of subjects against bright backgrounds. This technique works particularly well during sunrise or sunset when colors are vibrant.
Pro Tip: Experiment with different shutter speeds to capture motion within shadows if you’re photographing moving subjects like dancers or athletes.
Know Your Camera Settings

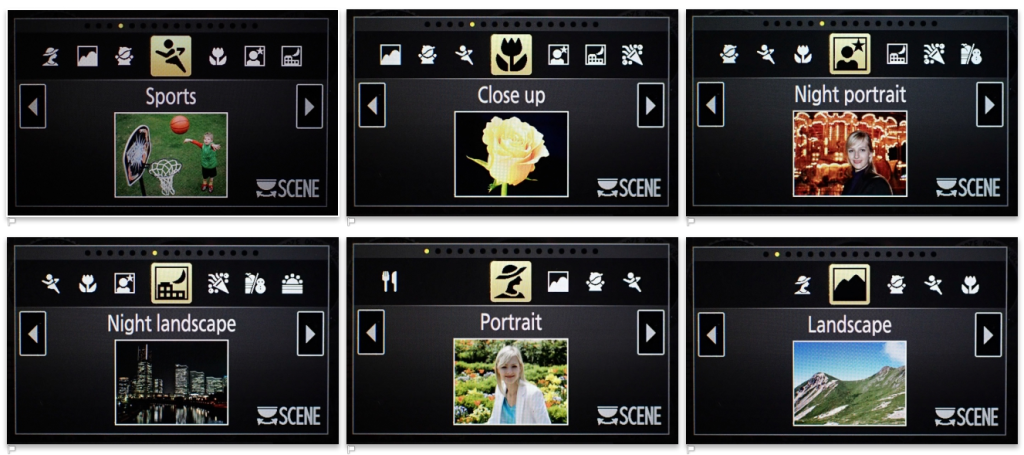
Understanding how to adjust your camera settings is crucial for making the most of natural light conditions.
- ISO Settings: In lower light situations (like during golden hour), increase your ISO setting without introducing too much noise into your images. A higher ISO allows for better exposure without needing slower shutter speeds that could cause motion blur.
- Aperture Control: A wider aperture (lower f-stop number) allows more light into the camera while creating a shallow depth of field that can beautifully blur backgrounds and emphasize subjects.
Pro Tip: Practice shooting in Manual Mode; this gives you full control over exposure settings (ISO, aperture, shutter speed) based on varying lighting conditions.
Incorporate Natural Elements

The environment surrounding your subject can enhance how natural light interacts with them.
- Use Trees and Buildings: Position subjects near trees or structures that allow dappled sunlight to filter through leaves or gaps; this creates beautiful patterns of light and shadow on their faces or clothing.
- Reflections: Look for reflective surfaces like water bodies or glass windows that can bounce additional light onto subjects or create interesting compositions through reflections.
Pro Tip: Scout locations ahead of time to identify potential spots where natural elements can enhance lighting effects creatively!
Post-Processing Techniques
Post-processing plays an integral role in enhancing natural light photographs after capturing them.
- Adjusting Exposure Levels: Use software like Adobe Lightroom or Photoshop to fine-tune exposure levels if certain areas appear too bright or dark due to lighting conditions encountered during shooting sessions.
- Color Correction: Adjust white balance settings during editing for accurate color representation based on varying temperatures encountered throughout different times of day while shooting outdoors!
Pro Tip: Always shoot in RAW format; this retains more detail than JPEGs allowing greater flexibility during post-processing adjustments!
Practice Regularly
Like any skill, mastering natural light photography takes practice. The more you experiment and practice, the better you’ll become at understanding and using natural light to your advantage. The more you shoot using the natural light techniques outlined above the better equipped you’ll become at understanding how various factors influence outcomes.
- Experimentation Is KeyTry different settings/settings combinations until finding what works best according to individual preferences/styles—don’t hesitate to experiment with unconventional approaches!
Learn from Others
Study the work of other photographers who excel in natural light photography. Analyze their techniques and try to incorporate them into your work. Join photography communities and forums to share your experiences and learn from others.
By understanding and mastering these top 10 tips for natural light photography, you’ll be well on your way to creating stunning and captivating images. Remember, the key to success is practice and experimentation. So grab your camera, head outside, and start capturing the beauty of natural light!
Remember always: photography is about storytelling, so let every shot convey emotion & creativity through the effective use of available resources.


